Building your first website is one of the most exciting moments for any beginner programmer. Whether you are a college student in India, a coding enthusiast learning online, or someone who just wants to understand how websites work, this journey will give you a strong foundation in web development.
In this guide, I will explain step-by-step how to create a simple but professional-looking website using HTML, CSS, and JavaScript. We’ll talk about each part in detail, from structure to design and finally to interactivity.
By the end of this article, you’ll not only have your first website live and running, but you’ll also understand the basics of front-end development that form the base of every modern website.
Why Learn to Build a Website with HTML, CSS, and JS?
Before jumping into the coding part, let’s quickly talk about why these three languages are so important:
- HTML (HyperText Markup Language): This is the backbone of your website. It creates the structure — headings, paragraphs, images, links, and sections.
- CSS (Cascading Style Sheets): This is your website’s designer. It adds colours, fonts, spacing, and layout. Without CSS, your website will look like plain black-and-white text.
- JavaScript (JS): This is the brain. It adds interactivity, like button clicks, popups, sliders, form validation, animations, and much more.
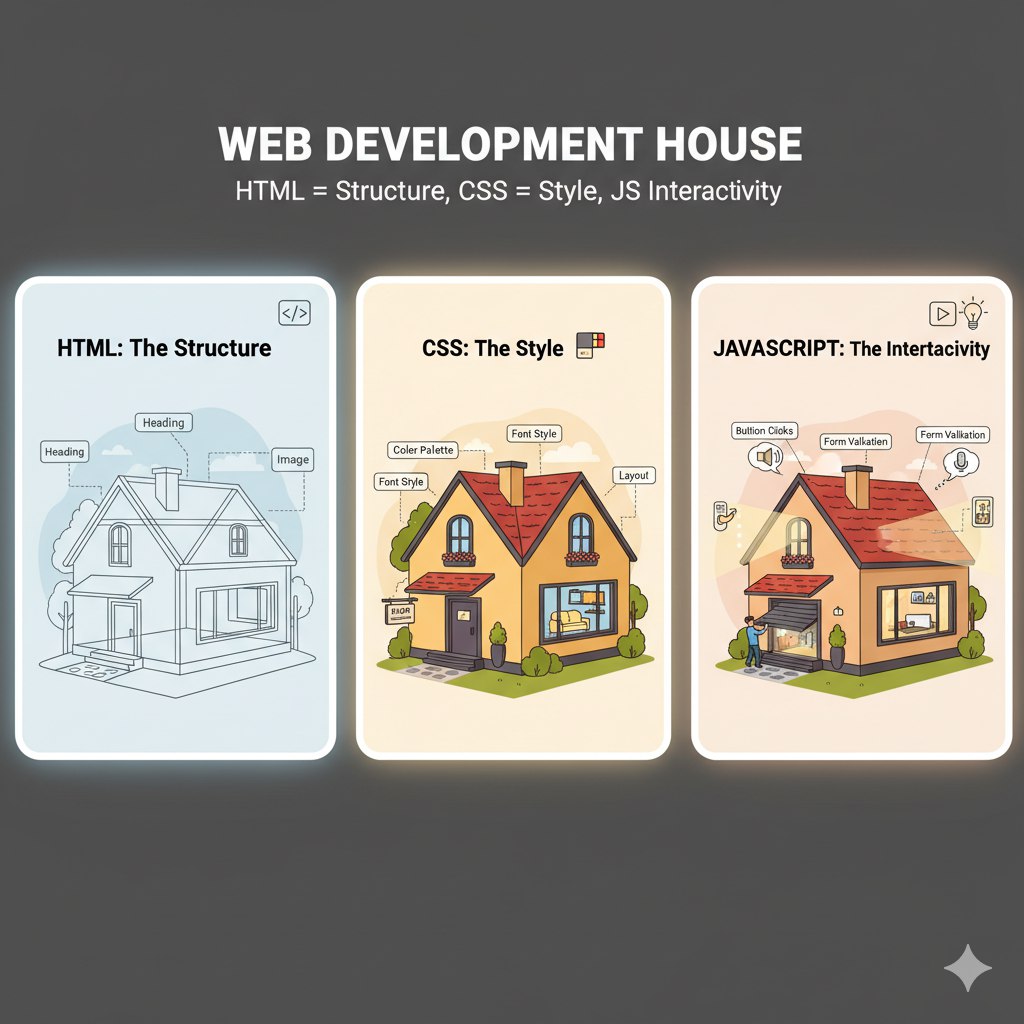
Think of it like building a house:
- HTML = Bricks and walls
- CSS = Paint and decoration
- JavaScript = Electricity and appliances
With these three combined, you can create powerful websites.
Setting Up Your Project
Before writing code, you need a proper folder structure. Create a new folder on your computer and name it something like my-first-website. Inside it, you’ll create three files:
index.html→ for structurestyle.css→ for stylingscript.js→ for interactivity
Your folder should look like this:
1. Start with HTML
HTML is like the skeleton of your website. It defines the sections like header, navigation, main content, and footer.
<!DOCTYPE html>
<html lang="en">
<head>
  <meta charset="UTF-8">
  <meta name="viewport" content="width=device-width, initial-scale=1.0">
  <title>CodeWithRandom.in - My First Website</title>
  <link rel="stylesheet" href="style.css">
</head>
<body>
  <!-- Header Section -->
  <header>
    <h1>Welcome to CodeWithRandom.in </h1>
    <p>Your journey to web development starts here!</p>
  </header>

  <!-- Navigation -->
  <nav>
    <ul>
      <li><a href="#home">Home</a></li>
      <li><a href="#about">About</a></li>
      <li><a href="#contact">Contact</a></li>
    </ul>
  </nav>

  <!-- Main Section -->
  <main>
    <section id="home">
      <h2>Home</h2>
      <p>This is a simple website built with HTML, CSS, and JavaScript.</p>
      <button onclick="showMessage()">Click Me</button>
    </section>

    <section id="about">
      <h2>About</h2>
      <p>We are learning step by step how to create websites. HTML gives structure, CSS adds design, and JavaScript makes it interactive.</p>
    </section>

    <section id="contact">
      <h2>Contact</h2>
      <p>Get in touch with us at <a href="mailto:hello@codewithrandom.in">hello@codewithrandom.in</a></p>
    </section>
  </main>

  <!-- Footer -->
  <footer>
    <p>© 2025 CodeWithRandom.in | All Rights Reserved</p>
  </footer>

  <script src="script.js"></script>
</body>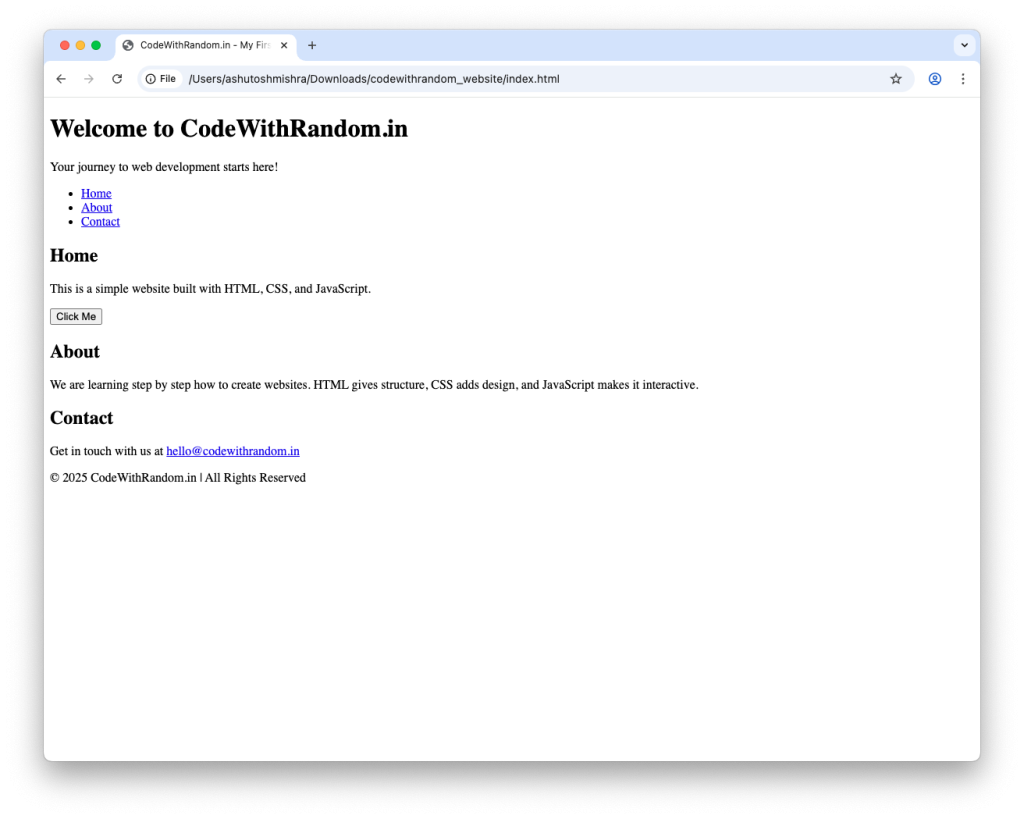
</html>This code sets up the main structure of the site. The header welcomes visitors, the navigation bar allows movement between sections, and the footer adds copyright.
Output:-
2. Add CSS (Design & Styling)
Once you have the structure, you need design to make it look attractive. CSS adds colors, layout, spacing, and makes the site responsive on mobile.
/* General Reset */
* {
  margin: 0;
  padding: 0;
  box-sizing: border-box;
}

body {
  font-family: Arial, sans-serif;
  line-height: 1.6;
  background: #f4f4f9;
  color: #333;
  min-height: 100vh;
  display: flex;
  flex-direction: column;
}

/* Header */
header {
  background: linear-gradient(135deg, #0078d7, #00bfff);
  color: #fff;
  padding: 40px 20px;
  text-align: center;
}
header h1 {
  font-size: 2.5rem;
  margin-bottom: 10px;
}
header p {
  font-size: 1.2rem;
}

/* Navigation */
nav {
  background: #222;
}
nav ul {
  list-style: none;
  display: flex;
  flex-wrap: wrap;
  justify-content: center;
  padding: 10px;
}
nav ul li {
  margin: 5px 15px;
}
nav ul li a {
  color: #fff;
  text-decoration: none;
  font-weight: bold;
  transition: color 0.3s;
}
nav ul li a:hover {
  color: #00bfff;
}

/* Sections */
main {
  flex: 1;
  width: 100%;
  max-width: 1100px;
  margin: 20px auto;
  padding: 0 20px;
}
section {
  margin: 40px 0;
  background: #fff;
  padding: 25px;
  border-radius: 12px;
  box-shadow: 0 4px 15px rgba(0,0,0,0.1);
}
section h2 {
  margin-bottom: 15px;
  color: #0078d7;
}
button {
  background: #0078d7;
  color: #fff;
  padding: 12px 20px;
  border: none;
  cursor: pointer;
  border-radius: 5px;
  font-size: 1rem;
  transition: background 0.3s;
}
button:hover {
  background: #005fa3;
}

/* Footer */
footer {
  background: #222;
  color: #fff;
  text-align: center;
  padding: 15px;
  margin-top: 20px;
  font-size: 0.9rem;
}

/* Responsive Design */
@media (max-width: 768px) {
  header h1 {
    font-size: 2rem;
  }
  nav ul {
    flex-direction: column;
    align-items: center;
  }
  main {
    padding: 0 10px;
  }
}
@media (max-width: 480px) {
  header {
    padding: 25px 15px;
  }
  header h1 {
    font-size: 1.5rem;
  }
  header p {
    font-size: 1rem;
  }
  button {
    width: 100%;
  }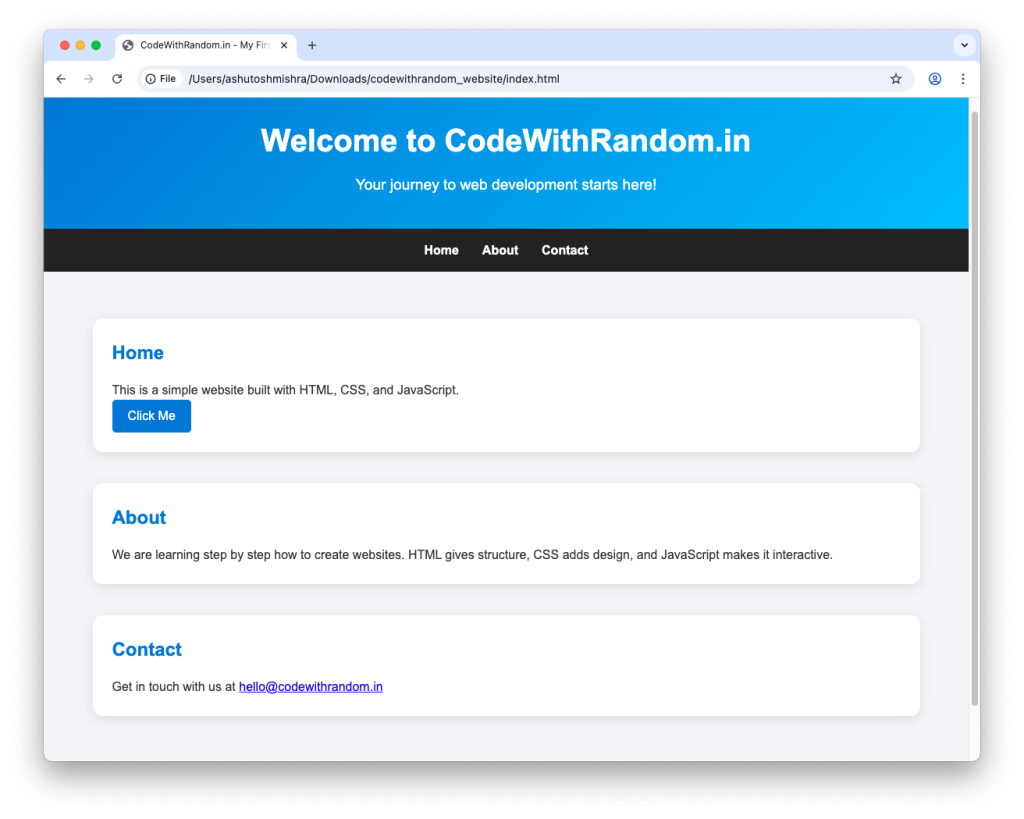
}In this CSS, we styled the header with a gradient, made the navigation bar dark, added spacing, and applied shadows to sections for a modern look. It also includes responsive rules for tablets and phones.
Output:-
Explanation of CSS:
- Colors and Fonts: CSS lets you control colors, fonts, and background.
- Flexbox & Grid: Helps align content neatly across devices.
- Responsive Design: Using
@mediaqueries, your website will look good on mobile and laptop both.
3. Use JavaScript (Interactivity)
Now comes the fun part — making your website interactive. Even a simple button that shows a message is enough for beginners.
// Simple JS Interaction
function showMessage() {
  alert("Hello! You just clicked the button on CodeWithRandom.in");
}Here, when you click the button, JavaScript shows an alert message. You can expand this later to add forms, animations, or dynamic content.
Explanation of JS:
- DOM Manipulation: JavaScript can access HTML elements and change them dynamically.
- Events: JS responds to user actions like clicks, typing, or scrolling.
- Functions: You can group your code into reusable functions for better logic.
In your uploaded file, clicking a button shows a message. You can expand this later into:
- A dark/light theme toggle
- An image slider
- A form that validates email/phone numbers
Testing Your Website
Once you’ve written HTML, CSS, and JS, open your index.html file in a browser (Chrome, Edge, or Firefox).
- Does the header look styled?
- Do the buttons work?
- Is the website responsive on mobile?
If something doesn’t work, open Inspect Element (Ctrl+Shift+I) in Chrome, go to the Console tab, and check for errors.
Making the Website Responsive
In India, most users access websites from mobile devices. So you must make your website mobile-friendly.
Add media queries in CSS:
Hosting Your Website Online
A website on your computer is good, but showing it to the world is better. You can host your first website for free:
- GitHub Pages: Push your code to GitHub and host it free.
- Netlify: Drag and drop your project folder, get a live link instantly.
- Vercel: Great for projects, auto-deployment from GitHub.
For example, after uploading to Netlify, your site might be live at:
https://my-first-website.netlify.app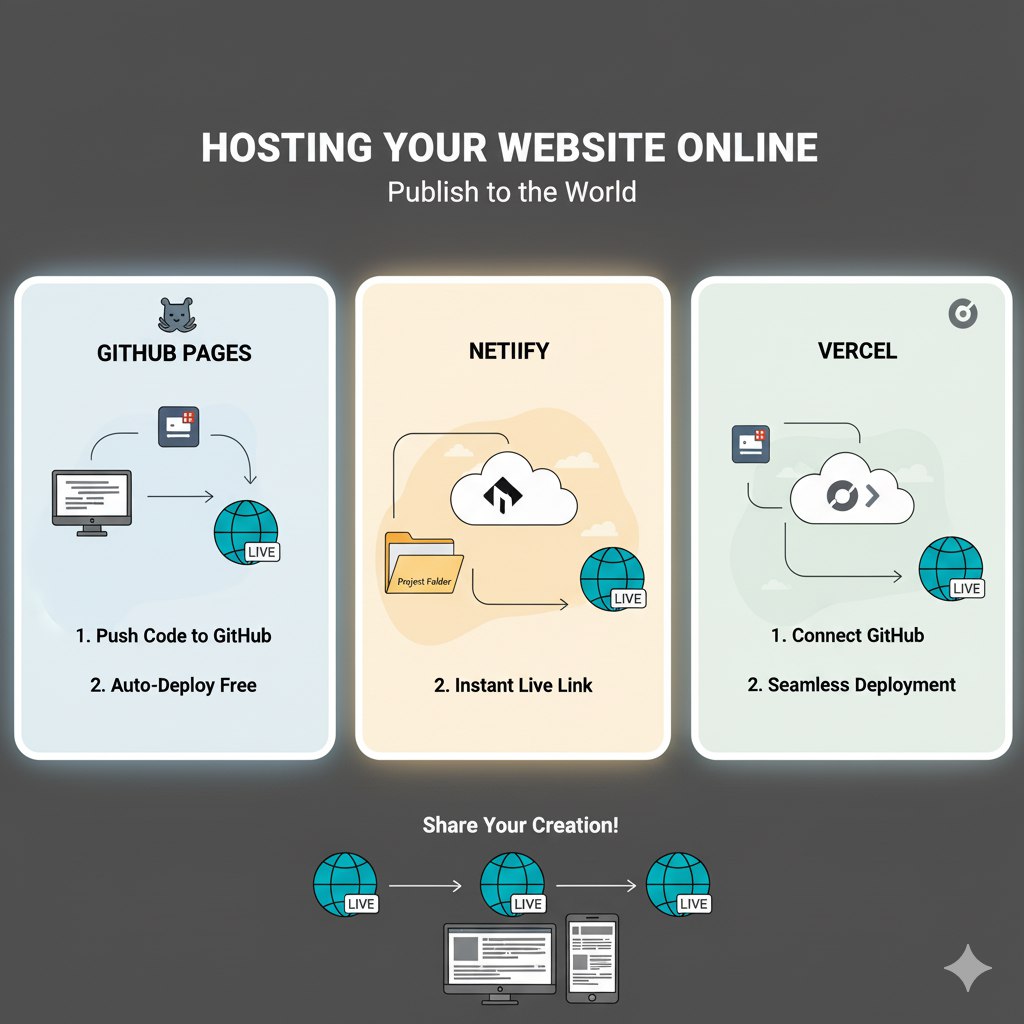
Improving Your First Website
Once you’ve built the basic version, here are improvements you can try:
- Add More Pages: About, Contact, Services.
- Add Forms: Contact form with JavaScript validation.
- Add Animations: Use CSS transitions and animations for hover effects.
- Dark Mode Toggle: Use JavaScript to switch themes.
- SEO Tags: Add meta descriptions, keywords, and OpenGraph tags for social media sharing.
Common Mistakes Beginners Make
- Forgetting to link CSS or JS in HTML.
- Using absolute image paths instead of relative ones.
- Writing inline CSS instead of separate
style.css. - Not testing on mobile devices.
- Ignoring indentation and comments (makes code unreadable).
Avoid these mistakes and your project will look professional.
Final Thoughts
Congratulations! You just learned how to build your first website with HTML, CSS, and JS.
This is your starting point as a developer. Don’t stop here. Keep practicing, try more projects like:
- Personal Portfolio Website
- To-Do List App
- Simple Calculator
- Blog CMS
Every project you build makes you better and more confident.
Thanks for reading our guide on Step-by-Step: How to Build Your First Website with HTML, CSS, and JS.
Stay connected with CodeWithRandom for more tutorials, projects, and coding tips.