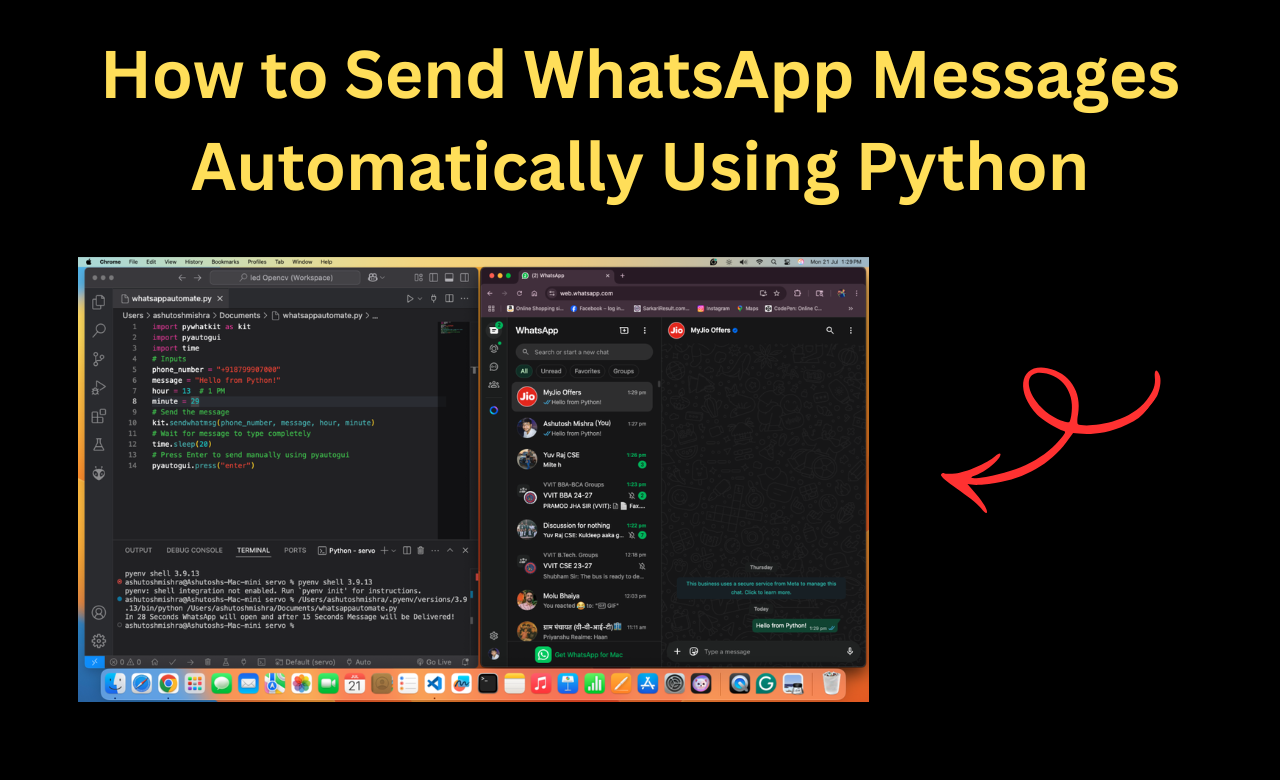
How to Send WhatsApp Messages Automatically Using Python
Hello coders! Welcome to our blog codewithrandom. Today, we will learn how to send WhatsApp Messages Automatically Using Python Step by Step.
There are times when we want to send a message in an emergency, but WhatsApp doesn’t help because it has no auto-send feature. For example, we want to wish our friend a happy birthday exactly at 12 at night, but we don’t want to stay awake. Also, in business, sending the same message to many people again and again takes a lot of time. In these situations, we can use Python to send WhatsApp messages automatically. It helps us save time and makes our work easier
Businesses also use this method to save time in customer communication. For example:
-
Sending promotional offers to multiple clients at once.
-
Sending meeting reminders automatically.
-
Automating festive wishes for customers to build better engagement.
For students and developers, this is a fun project to learn automation with Python and explore how technology can solve real-world problems. Once you build this, you’ll realize how powerful automation can be in daily life.
And in such situations, Python comes to the rescue! With just a few lines of code, you can automate WhatsApp messages
| Why Automate WhatsApp Messages? |
| What is PyWhatKit? |
| Things You Need Before Starting |
| How to Install PyWhatKit |
| Send Your First Message (Step-by-Step) |
| Send Messages to Groups |
| Real Life Uses of WhatsApp Automation |
| Fixing Common Errors |
Why Automate WhatsApp Messages?
- Remind friends or family automatically
- Save time in sending daily or repeated messages
- Send business messages to clients
- Schedule birthday wishes at midnight
What is PyWhatKit?
PyWhatKit is a Python library that allows you to send WhatsApp messages directly from your computer using WhatsApp Web. It types and sends the message like a human would.
Things You Need Before Starting
- Python 3 install on your computer
- Google Chrome browser
- WhatsApp account logged in on WhatsApp Web
- Stable internet connection
How to Install PyWhatKit
Open your terminal or command prompt and run this:
pip install pywhatkitThis will install the library.
Send Your First WhatsApp Message
import pywhatkit

# Send message to a number at a specific time (hour, minute)
pywhatkit.sendwhatmsg("+911234567890", "Hello, this is a test message!", 15, 30)What this means:
+911234567890: Phone number with country codeHello...: Message you want to send15, 30: Time in 24-hour format (3:30 PM)
The code will open WhatsApp Web, wait for 20 seconds, and then send the message.
Send Message to WhatsApp Group
pywhatkit.sendwhatmsg_to_group("group_id", "Hello Group!", 16, 45)To find group_id, go to WhatsApp Web, click on the group, and look at the URL. You are see something like chat.whatsapp.com/abc123, so your group ID is abc123.
Real Life Uses
Use Case How It Helps Birthday wishes Automatically send at midnight Business messages Save time by sending updates Task reminders Keep team informed Class notifications Students or teachers use it easily
Fixing Common Errors
WhatsApp Web Not Opening
Solution: Check internet connection and make sure Chrome is installed.
Message Not Sent
Solution: Keep your browser open and don’t close the program.
Time Format Error
Solution: Use 24-hour format only. For example, 1 PM = 13.
Code to automatically send messages to many people.
    group_id = "YourGroupID"  # Obtain this from the group's invite link
    group_message = "This is a group message."

kit.sendwhatmsg_to_group(group_id, group_message, hour, minute)Send Images Too
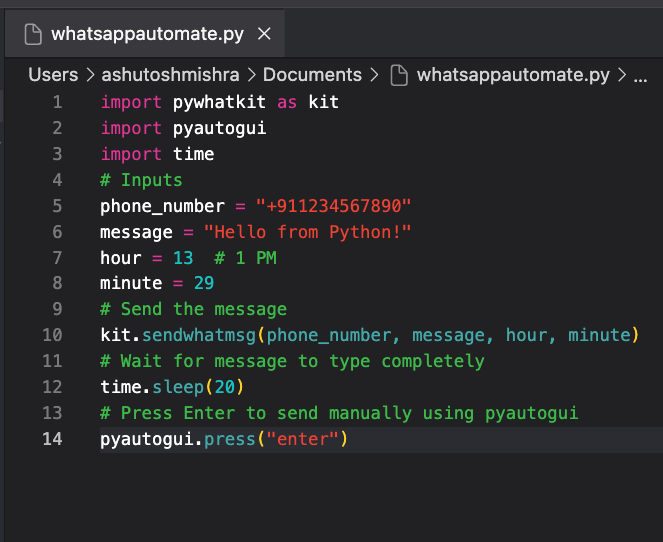
pywhatkit.sendwhats_image("+911234567890", "path_to_image.jpg", "Here's an image!")Here is Complete to of How to Send WhatsApp Messages Automatically Using Python
import pywhatkit as kit
import pyautogui
import time
# Inputs
phone_number = "+91**********"
message = "Hello from Python!"
hour = 13  # 1 PM
minute = 29
# Send the message
kit.sendwhatmsg(phone_number, message, hour, minute)
# Wait for message to type completely
time.sleep(20)
# Press Enter to send manually using pyautogui
pyautogui.press("enter")Requirements:
- Chrome browser installed
- WhatsApp Web is logged in on Chrome
- Good internet connection
- Keep the system awake till the message is sent
Output Screenshot:-

Output Preview Video:-
And if you want to send the same message to many people at once:
contacts = ["+911234567890", "+91987654****", "+911112223334"]  # List of phone numbers
message = "Hello! This is an automated message using Python 🤖"

hour = datetime.datetime.now().hour
minute = datetime.datetime.now().minute + 2  # Message will be sent 2 minutes from now

for number in contacts:
    kit.sendwhatmsg(number, message, hour, minute)   # Send message to each contact
    minute += 2   # Add a 2-minute gap between each message
    time.sleep(5) # Small delay to avoid errors
- contacts → A list of phone numbers where the message will be sent.
- message → The text that will be sent to all the contacts.
- hour & minute → The time when the first message will be sent (here, 2 minutes from the current time).
- for loop → Goes through each phone number in the contact list.
- kit.sendwhatmsg() → Sends the message to the current contact at the given time.
- minute += 2 → Adds a 2-minute gap between each message so that messages don’t overlap.
- time.sleep(5) → Waits for 5 seconds before sending the next message to avoid any errors.
Now you know how to send WhatsApp messages automatically using Python! This is a fun and useful project you can show off or use daily.
- Try this for birthdays or reminders
- Use it in your portfolio or resume
- Keep exploring Python automation
We know that you must have liked our project How to Send WhatsApp Messages Automatically Using Python and you must have learned a lot from it, stay with us for such useful blogs
Thanks for Reading Our Article
Author :- Ashutosh Mishra